Once again I haven't updated in the blog in a week or so... to much time spent working on the boat, not enough time to type updates.
Lots has happened in the last few weeks, and I have had some great help.
Things that have been worked on:
After Simon and Shane worked on getting all the body fill sanded down on the deck I started to do the final coats of epoxy.
I had been working Saturday and Sunday (18&19 of Aug) doing the final epoxy coats, Saturday afternoon halfway through coat 2 of 3- I ran out of epoxy.... The epoxy has to be done in succession as it's drying... if it's interrupted you have to let it completely cure, do a rough sanding and then do the rest of the coats....
Needless to say I got a little grumpy about this on Saturday afternoon, and took the last few hours off. However, there was a silver lining to this problem. I decided to revisit some of the deck hardware that was stubborn and wouldn't come off before. I got all the life line stanchions off and a few pulleys.
Now with the deck entirely clear, I made my way to Noah's Marine Store (http://www.noahsmarine.com/index.asp) who have been exceptional in answering my many questions along the way, bought new epoxy and all of my caulking.
Through out the next week, I worked on re-sanding the deck and doing the final epoxy coat on the boat. On Tuesday Andrea came down and did an excellent job at finishing all the rough sanding under the water line, and Wednesday Nichola came and got half the rudder looking shinny and ready for painting!
Shane came down on Thursday and we worked until Monday on the boat. We got a ton done which was excellent. Shane worked on the finishing of the cockpit, sanding the body full and painted walls on Thursday and Friday.
Saturday we epoxied the cock pit, and prepped all the deck to be caulked and sealed. We also started cleaning all the deck hardware.
Cleaning the deck hardware was a bit of a process until we found the magical paint remover. GOOF OFF! The hardware soaked in tin trays of goof off for 10-20mins and then with brass wire brushes we were able to get all the old paint and sealants off the hardware. It then took a bath in soapy water for 1-2hours, sprayed off with a hose and laid out in the sun for a few hours to totally bake out the moisture.
Sunday was a very exiting day... relaying all of the deck hardware!! Learning how to use the Sikaflex caulking was a bitch... but works very well. With Sikaflex, you tape down a channel where you want the caulking to be, and the tape on either side protects what you don't want to be covered in caulking (if the Sikaflex touches anything it gets stained black).
Monday, Shane took a lot of time finishing chipping out old seam sealant on the hull while I taped off all the areas on the deck to be caulked. Throughout the evening I worked on caulking the deck, while Shane started to caulk the hull.
Lots going on with the boat, but little left to finish:
- stern spinnaker winch mount rebuilt.
- hole in the starboard side filled- some rotten wood on the port side taken out and replaced
- final coats of epoxy on the hull
- sanding down of the hull (fairing)
- Engine serviced (still looking for someone to do it!!!!)
PAINTING!!!
Looking like we may see the Wood Duck get wet this year... lets keep our fingers crossed.
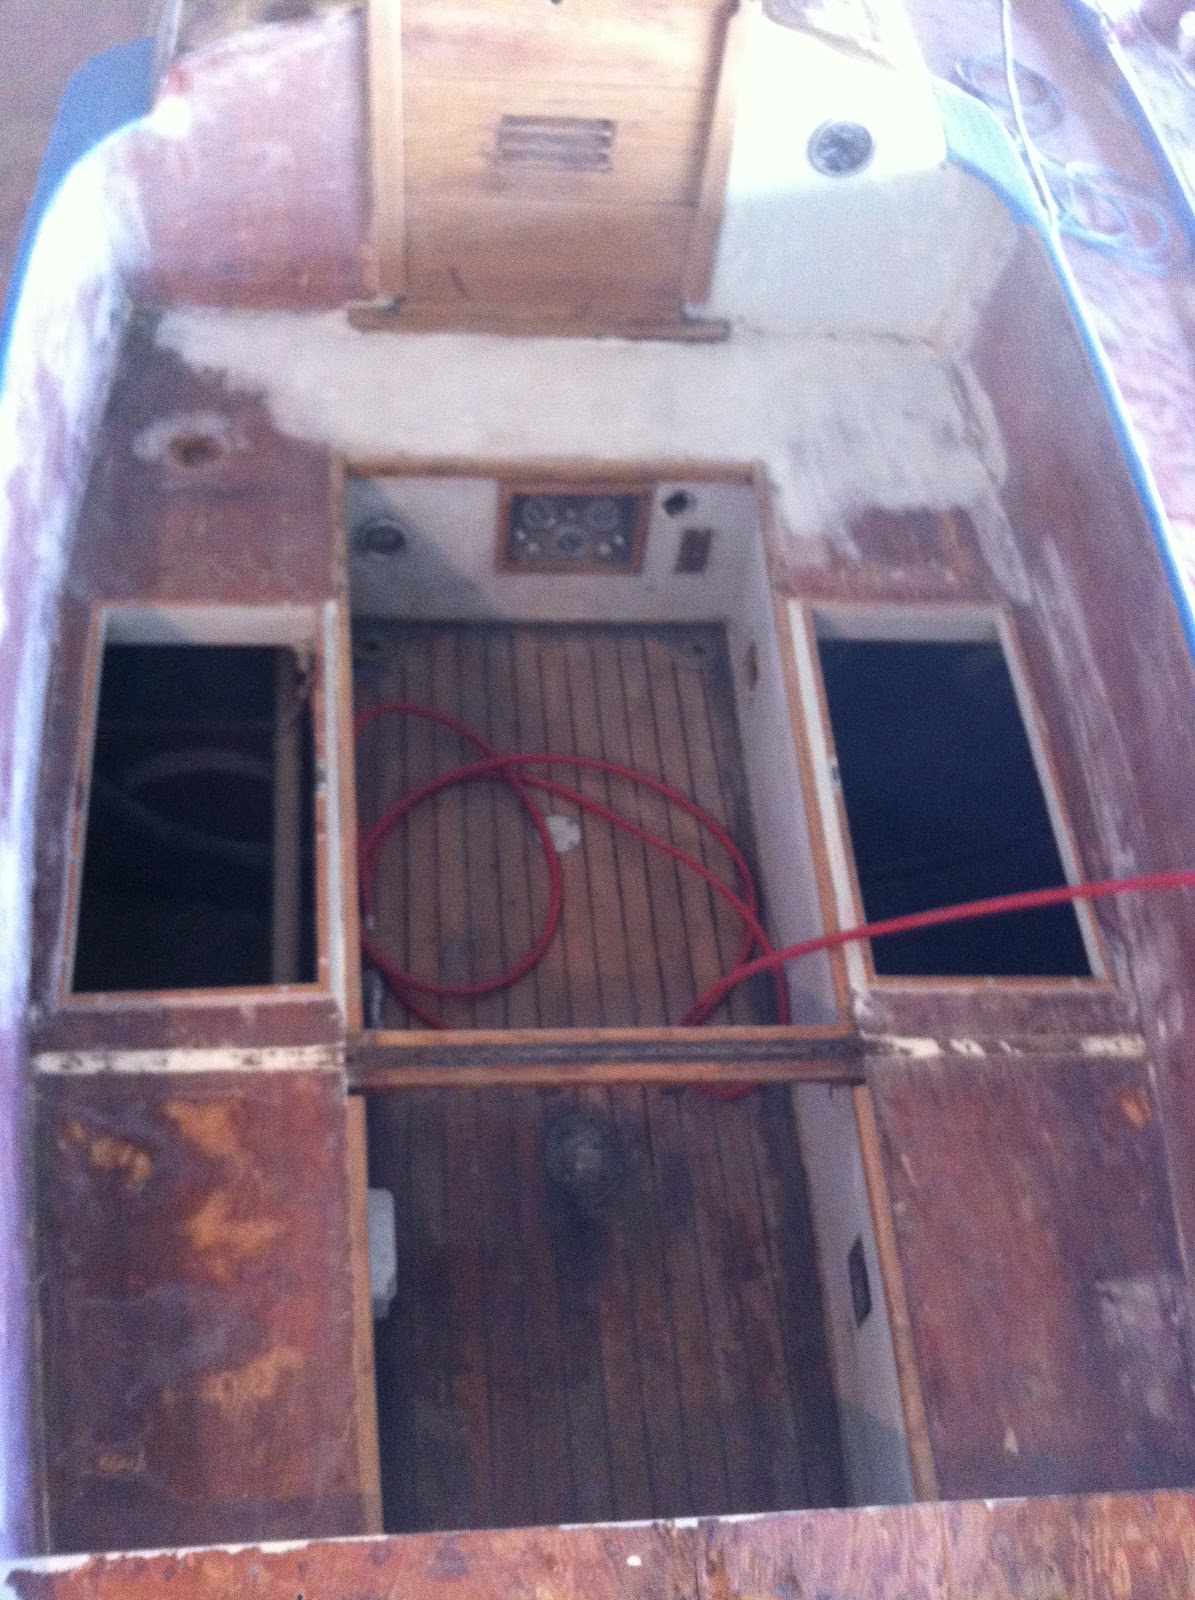
Teak floor of the cockpit has started to be sanded and the old caulking taken out of the seams.

Body fill in the cock pit to create a bit of a slope to get water off the bench.

Starboard deck all sanded down, epoxy already on the cabin walls. I left the fibreglass on the starboard side as it was still in very good condition.

The deck fully epoxied!!

Working in small spaces to get deck hardware off...yes my entire body was down in there.

Epoxy is sanded to give it tooth to be painted.

Another small space, taking off the spinnaker winch mount.

The cock pit getting it's final sanding!
That little door in the back of the boat is where I was removing the spin winch.

Taped for epoxy.

Deck hardware taking a bath in Goof Off.

Little scrapping and brushing work station, with soapy wash bucket.

Hardware baking to dry.

Assembly area for new bolts, washers, nuts and screws.


Hardware waiting to go back on the boat.

The WOOD DUCK's name plate all shinny and new waiting to be put back on!

Transmission lever's plate re-installed and cleaned.

Deck hardware reinstalled on the aft of the boat.

Tapping out for the carpenter to replace the boards, the jagged lines are for "scarf joints"

Chainplate covers sealed down.

Taping off the cockpit to be caulked.

Me working on all of the tapping... soooo much taping.


Close up of the caulking on the toe rail. This will be panted over also.

Dr.Oz and Nurse Shane repaired my arm that the wood duck sign opened up.

Another picture of me taping... I did this for hours.


Shane's taping of the cracks in the hull to be caulked.


