Sunday, June 24, 2012

Over the hump!

This Tuesday Evan and I headed out the boat, I worked away on the fibreglass and Evan worked through the engine looking at the fixes down below.

Nothing major to report from the week, other than everything takes a long time. Joe was with me at the boat on Thursday & Shane came down on Saturday to work on it.

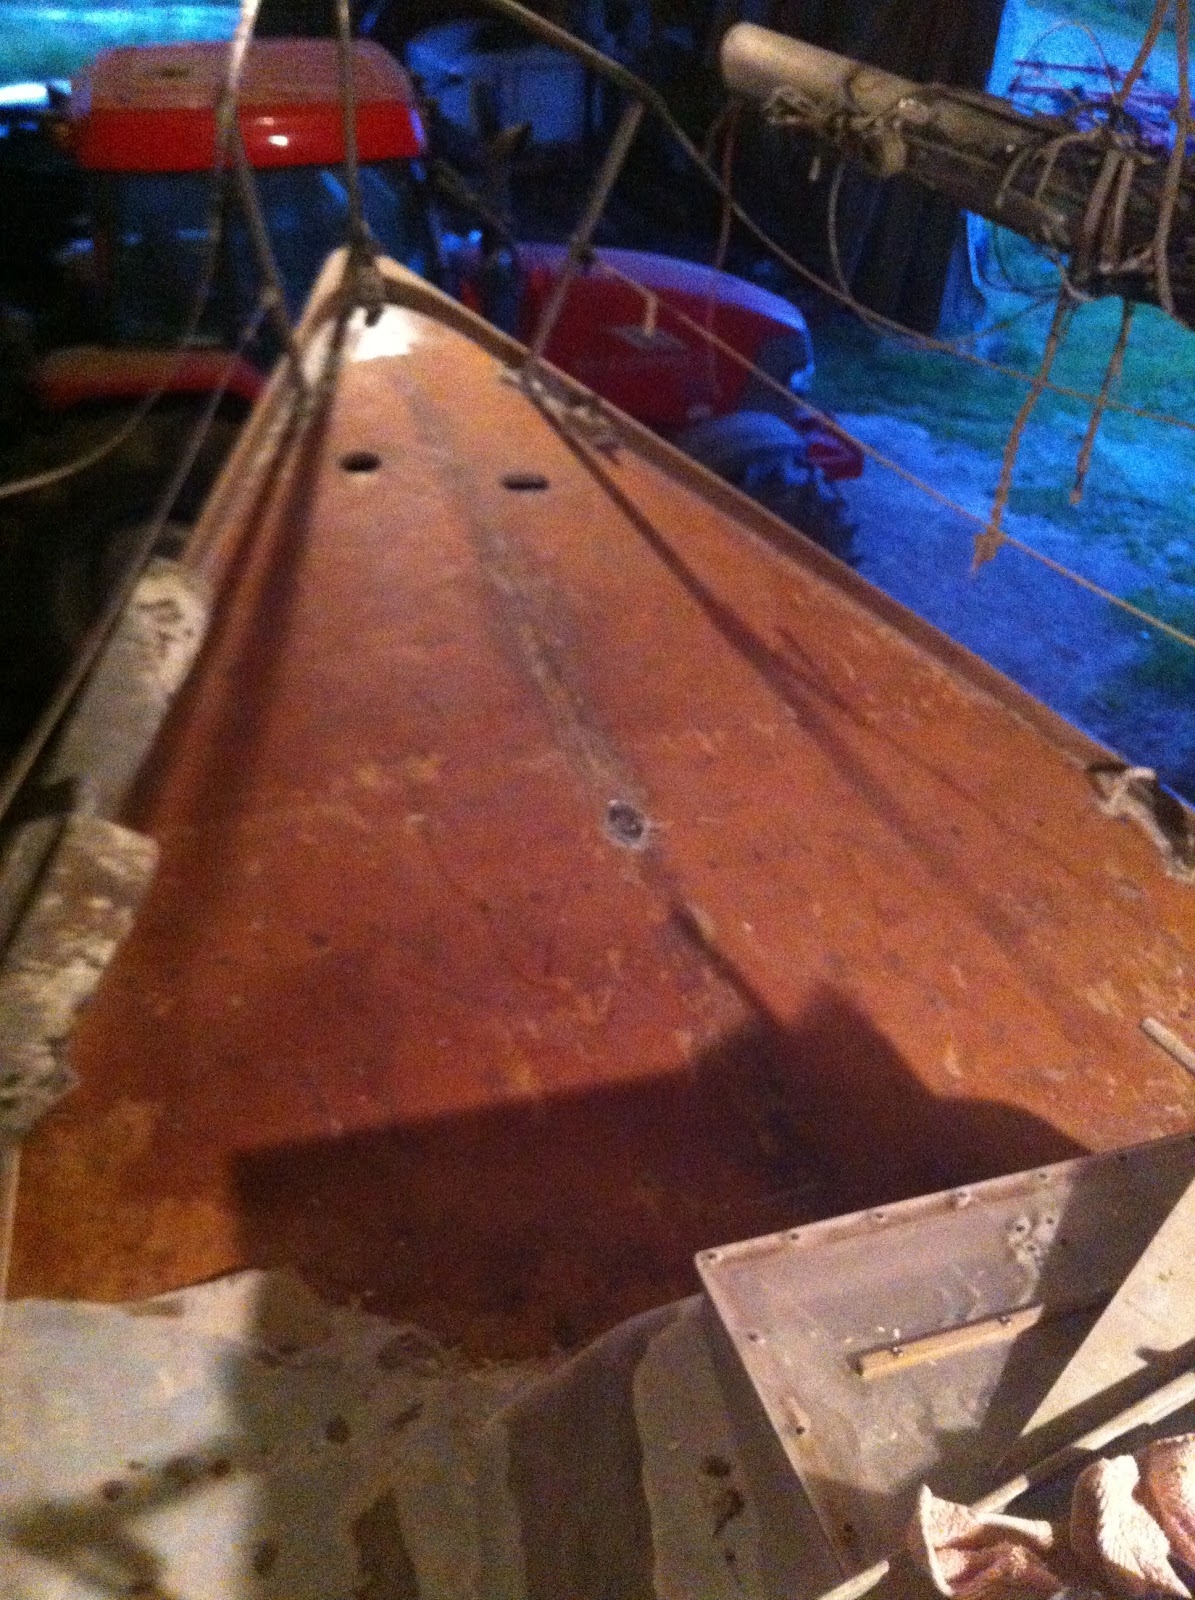
Shane and I discovered some areas of little rot on the fore deck and started to take up some of the fibreglass and realized it rips of off huge sheets.... which is perfect. We got about 75% of the fibreglass removed from the deck. This process makes the deck much smoother and lets me examine the areas that need to be filled a lot easier. As I did the big rips of fibreglass with my hands and a paint scrapper, Shane went around the edges and meticulously chiselled out the cracks between the deck and teak foot rails...thank you Shane for doing that because I am loosing a little bit of patients at time for the small details.

Next steps: Over the next week I will continue to rip off the fibreglass from the deck and chisel out the edges. Once that is complete I will be able to go around with epoxy filler (West Marine Epoxy) fill in any small gouges, rot areas, and make small curved troughs around the cabin to move water away from the edges.
After that, I will take the same epoxy, mix it with a thinner and paint 3-4 coats over the full deck which will create a sealant on the marine grade plywood.
Once the deck is filled and sealed, one final sanding with a 60 or 80 grit sand paper to get it roughed and ready for painting!

The goal and the dream would be to have the deck ready for painting by the end of this week.

Dirty teak trim. (Fibreglass is smooth even though it doesn't look it.)

 Clean teak trim!!


 Joe worked hard sanding the paint off the side deck.

Cockpit is looking good, almost ready!

Day off the boat...sanding parts of the cabin at the parents.


Foredeck cleared of fibreglass, just needs a little filler & sanding.


Side deck also cleared (the grey is just dust..vacuum stopped working.) 

 That's a big pile of fibreglass...everyone is itchy. 


George...is the man.

A shout out to George- he has come and helped with the boat at least 5 times now, and has put in around 25+ hours in the boat project. So thank you George and all my friends & family for that matter who has helped with the boat.

George & Oz

George and I worked Wednesday and Thursday last week on the deck and the cockpit. We have been ripping off fibreglass & sanding to fair everything out.

 Start of the fibreglass removal in cockpit.

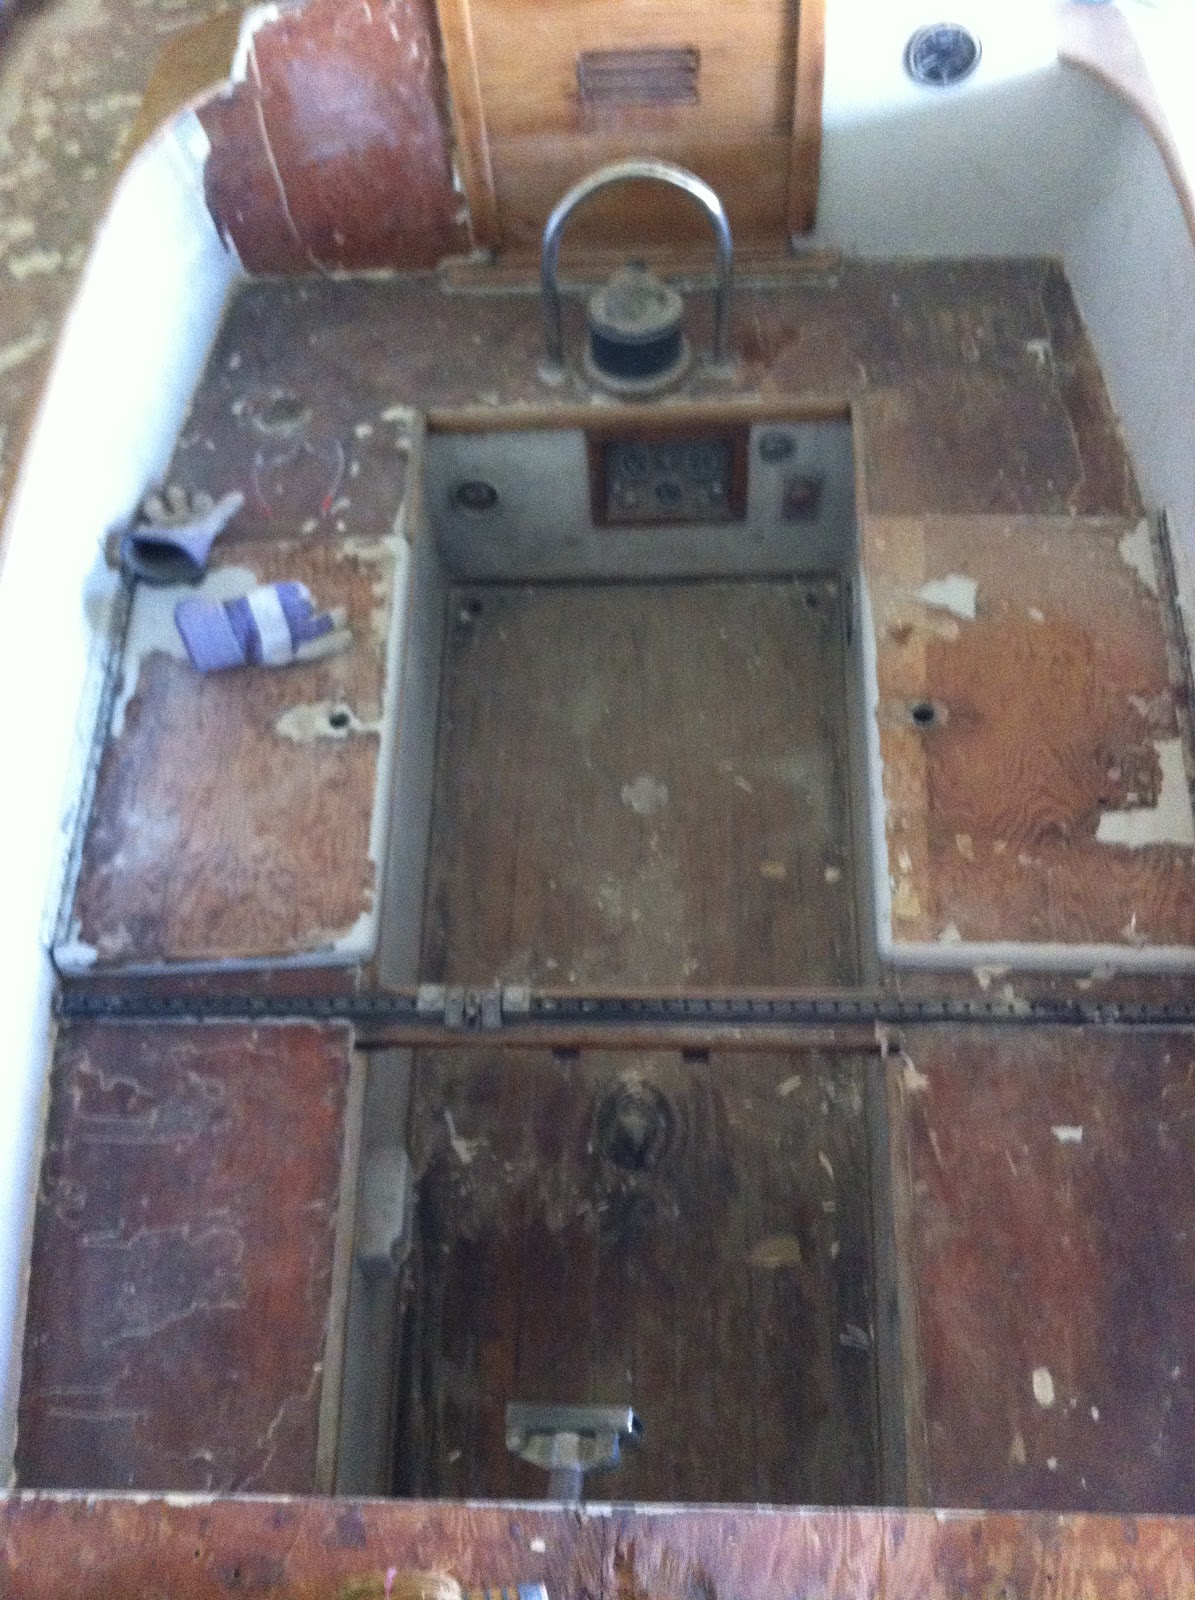
Pretty well cleared out, cockpit floor filling with fibreglass.

 Cabin roof cleared!

Cockpit ready for patching and final sanding. Floor cleaned out, just needs to be vacuumed. 

There's a hole in my boat, dear liza....

No Liza Minnelli wasn't at the boat...yet.

Uncle Bill Weaver introduced Evan and I to a great carpenter named Jake (who lives next door). A soft spoken man, but seems to really know what he is doing.

When Jake got to the boat we chatted about what I wanted done to the areas of rot and he wanted to see how the boards came off... Long story short I watched (and sh*t a brick) as Jake & Bill took hammers & crowbars to the side of the boat. However, at the end of the morning Jake had made a perfectly straight line and all the wood cleared out and ready for the new cedar.

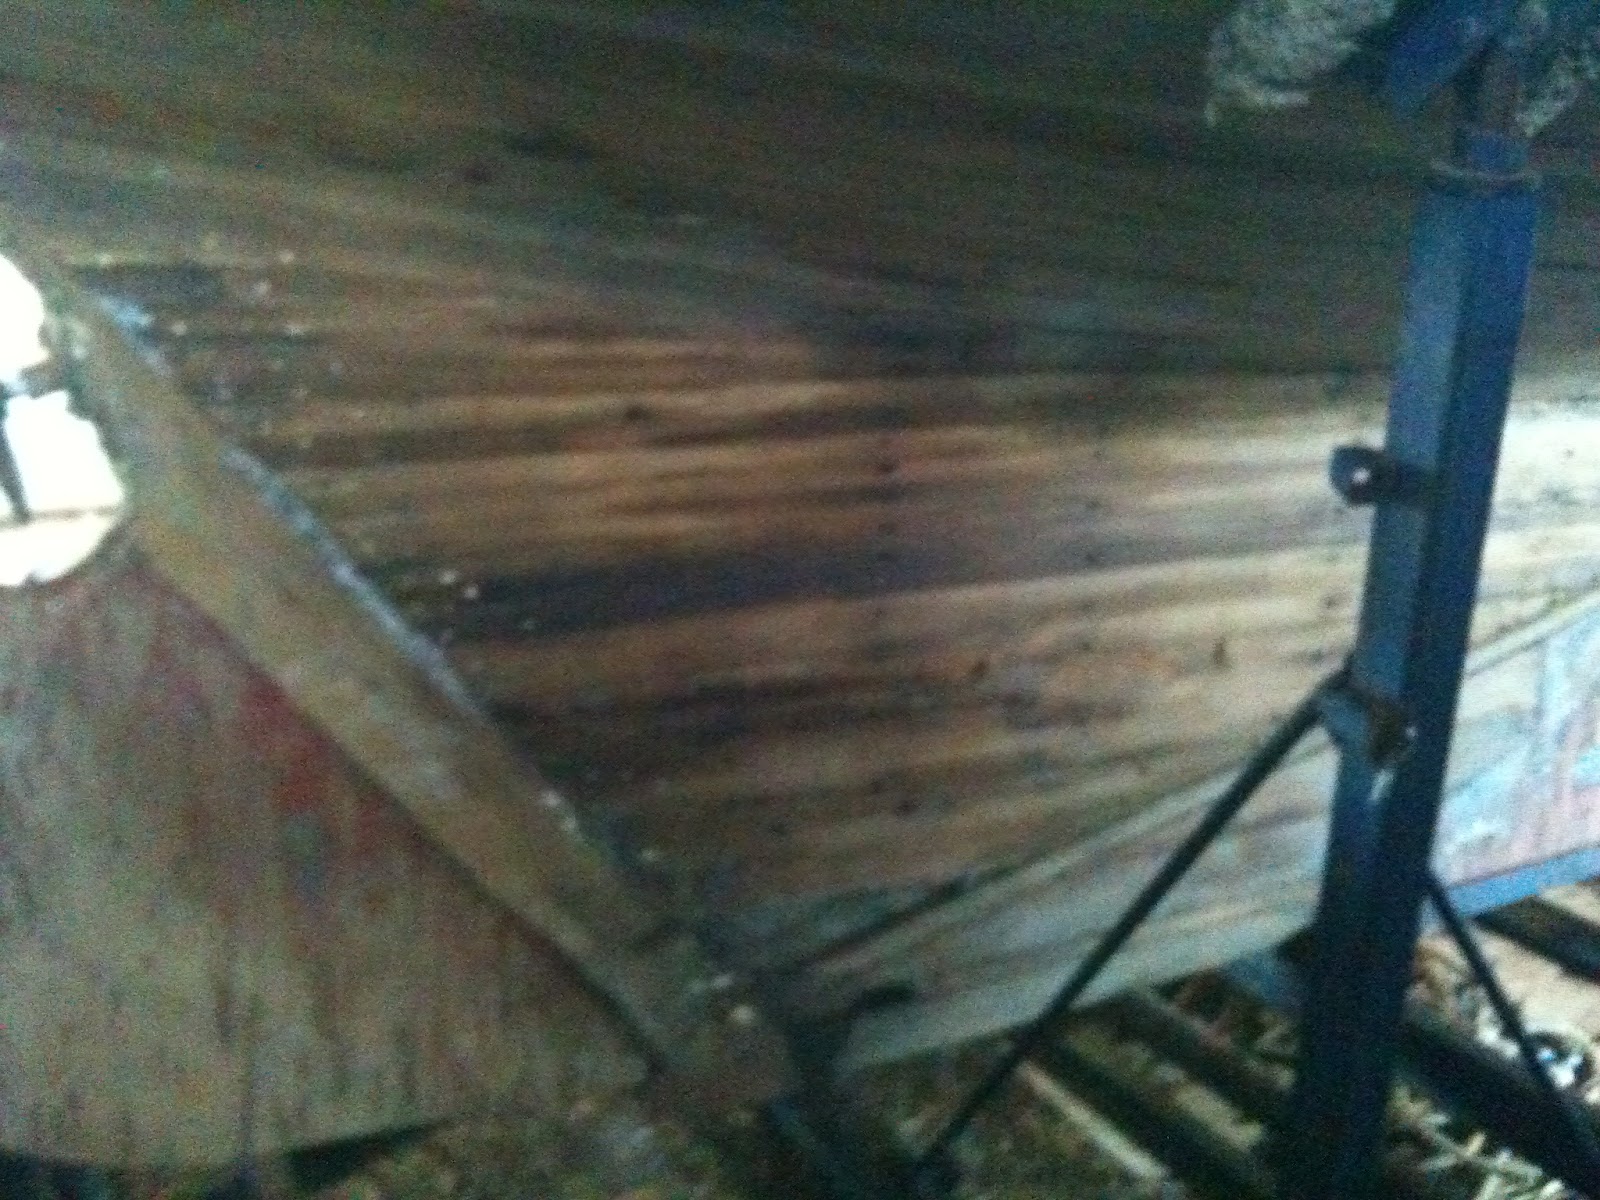
Note: The back inside is not rot, it is oil from the engine & oiling the boat each year. The timber (mostly Oak) is all very solid, which makes me a happy sailor.

 After the crowbars....

 Jake with a skill saw... didn't even knick the inner structure... I was very impressed. 

Final Product- Read to be re-boared. 


Wednesday, June 6, 2012

Sanding, Striping and Sanding

The hull of the Wood Duck is completely sanded and ready for the fairing process. Fairing a boat is taking a long flexible board with sand paper on it and really smoothing out the surface which preps it to be painted.

The last few boat trips I have been working on getting the deck stripped and sanded. Lots of great progress has been made on the deck with Shane and George both coming to help!

Not to far off the goal now! If you have some time and want to help with this final push it would be amazing to have you down working on the boat!!

George KILLING it, he has done so much!           Me... working away. Looking like Mike Holmes..
 Roof of the cabin getting stripped and sanded!

 Cockpit filled with fiberglass!


Tuesday, June 5, 2012

We've got Sails!

I spent a beautiful Sunday afternoon unpacking all of the sails for the boat and boy are they beautiful.

My grandfather and the previous owners not only loved to buy sails, but keep them in amazing condition. The boat is outfitted with 9 sails from 1952 to 1984, and most are still in beautiful white crisp working condition.

The sails are a little bit of a museum piece, with some of the sails being 50 years old they are a rare bread in sailing now, much different cloth, grommets etc.

The most interesting thing I found on the sails is that each grommet, each shackle even are made out of Bronze! Which gives each sail a beautiful vintage feel and look.

I can't wait to fly each and every single one of these sails.

Top 5 five sails "Head Sails" (left to right):
- #4- Smallest sail 100% of main
- #3 is a 110% which is mostly under the black and orange sail
- Black, Orange and White sail- Is the "reacher" it's approx. 160% made of light spinnaker material, perfect for "no wind days"
- #2 is a 130%
- #1 is a 160% which goes from bow to almost the stern with a huge pocket.
- NOT PICTURED- a beautiful spinnaker

Bottom three sails "mains" (left to right):
-#2 1980's smaller- Charlie Smith
-#1 1950's-1970's larger sail- Charlie Smith, a little bit stretched in the pocket
- Last sail is original 1950's however ripped in a few places the bottom.

That makes 3 mains and 6 head sails...YEE-HA!

Saturday, April 7, 2012

Sanding DONE!

Well.. that's a lie. BUT the hull is completely rough sanded!

Sunday March 18th
Two awesome friends Bran Ram and Mark Shyzer came out and helped on the boat!


 Lot's got done, the entire boat is striped and just a little bit on the port stern left to be sanded. 


Look very very close at the washer....
 A sunset over the farm and solar panel, a good way to end the evening. 

Sunday March 25th
David (First mate) and I worked a full day again; the hull is now completely rough sanded, and 1/4 of the deck is also rough sanded.

Once the whole boat is rough sanded (about 2-3 more days of work) it will be time to take a finer sand paper and start "fairing" the boat to get it all smooth for painting (aprox. 1 to 1.5 weeks). A small area still needs the boards replaced which will happen in may by a carpenter.

Getting really close to having it in the water this year! More updates soon!
o

Thursday, February 23, 2012

2012- A new year and the Wood Duck shall be done!

Hey Friends and Family,

I apologize I thought I had made a blog post last fall as to where we got on the boat... I apparently did not.

Last spring and summer I was very fortunate to have a lot of great support working on the boat. As the paint pealed back and back I got to see more of the lovely cedar underneath; however, we found some patches of rot on the boat (which we expected) after a long detailed and thought out conversation, Admiral Evan and I decided the best solution was to hire a carpenter to replace the parts of the boat that were showing signs of rot and distress.  Deciding this meant that the boat would not get into the water for 2011.

As of March I will start doing updates again on every day we work on the boat. I have included the " TO DO" list so you can get an idea of what still needs to be done. ( I know the list seems a bit epic, but know that this is about 30% of the work we already did last year, so very doable this spring.

As always let me know if you have time and want to help on the boat, every time I get one volunteer for a day, it cuts my work in half and lots more gets done!!

 1. Starboard all sanded!!
  2. Starboard stern all sanded!!
 3. Port stern 1/2 back, needs to be sanded and striped.
 3a. Port prow, a little sanding.
 4. Port stern view from aft.
 5. Starboard where new cedar strip will be.
 6. Port where a new cedar strip will be put in just along the keel.

THE LIST

The list is in order of what needs to be done first, broken down by section of the boat. Some jobs can be done simultaneously, see schedule break down for idea of how all the work will be accomplished.

Starboard Side Hull:
Notes: Fully striped & rough sanded (See picture 1 & 2.)

1. Replace boards  near the stern (see picture 5) [Hours? Not done by Oz]
2. Sanding:
    •    Prow around the chain plate
    •    Prow under trailer support
    •    Keel, the lead still has some paint
    •    Indented line below the deck above the waterline needs to be scrapped out and sanded
    •    Outside of toe rail along the deck
    •    Lighter grit sanding of everything above the waterline
3. Clean all bronze porthole, exhaust holes, etc.
4. Filling all the cracks with epoxy and seam sealant.
5. Sanding down the epoxy over the cracks, blending in with wood.
6. Smoothing and sanding under the waterline (not faired)
7. Fairing the boat above the waterline, to just under the waterline.
8. Seal and Paint

Port Side Hull
Notes: 3/4 striped & 2/3 sanded. (See picture 3 & 4.)

1.
Replace boards along the keel. (see picture 6) [Hours? Not done by Oz]
2. Stripping (Needs 10°c + weather)
    •    1/2 along to 3-4 ft of the way back above the waterline; this might be able to be sanded, if everything else is done before the warm weather. (1-2 coats of stripper)
    •    Last 3-4ft of side to stern (3-4 coats of stripper)
    •    Prow above the waterline (1-2 coats of stripper)
    •    Underneath the two pads on the side, front support and back support (3-4 coats) NOTE: Pull off pad and see if it can be sanded.
3. Sanding:
    •    All area's above mentioned in the stripping will need to be brought down to wood.
    •    Parts already at wood will need a light grit sanding.
    •    Indented line below the deck above the waterline needs to be scrapped out and sanded
    •    Outside of toe rail along the deck
    •    Under the two pads on the side, front support and back support.
4. Clean all bronze porthole, exhaust holes, etc.
5. Filling all the cracks with epoxy and seam sealant.
6. Sanding down the epoxy over the cracks, blending in with wood.
7. Smoothing and sanding under the waterline (not faired)
8. Fairing the boat above the waterline, to just under the waterline.
9. Seal and Paint

Stern:
1. Light coating of finer glass needs to be pealed off
2. Sanded underneath.
3. Clean the "Wood Duck" sign.
4. Seal and Paint

Prow:
1. Clean and polish Chain Plate.

Rudder:
1. Brought back down to metal. If possible, take the rudder off and bring it to Bill (metal worker) to have it sand blasted.

Deck:
1. Cleaned off (Swept well, tools, etc moved off)
2. Uninstall as much deck hardware as possible.
3. Sanding:
    •    Belt sander for flat parts (not down to wood, just smoothed out, not ripping into the fiberglass.)
    •    Circular and hand sanding for the curves and hard to reach places.
    •    Hand sanding for all teak rails.
    •    Inside of the toe rails.
4. Re-install all deck hardware with glue/sealant underneath. NOTE: Must be done before painting.
5. Plexiglass over the vents reinstalled (Roadie)
6. Fix fiberglass around mast step
7. New Life Lines!
8. Replace a couple of the cabin windows that are cracked or broken.
9. Tape off all deck hardware and teak before painting
10. Seal and paint. Smooth white, gritted white for walking area's, and stain for teak.

Stern/Cockpit
1. Sanding
    •    Light sanding of the hatch cover.
    •    Teak around the cockpit
    •    Winch bases
    •    Floor
    •    All painted areas to be sanded and smoothed for painting.
2. Seal and paint all white areas, varnish teak.
3. Replace stern Spinnaker winch mount.
    •    measure the wood for brad
    •    remove
    •    install new one
4. Take apart all winches, clean and reassemble
5. New compass
6. Install new push pit on the back.
    •    Need to bring drawing to Bill (metal worker)

Cabin:
1. Sanding
    •    All white walls to be smoothed and ready for repainting, using putty where needed.
    •    DO NOT SAND WOOD
    •    Clean, vacuum etc after the sanding.
2. New lighting: LED puck lights from IKEA
    •    7 in the cabin, same spots as old ones.  (2 in galley port and starboard, 1 over the bunks port and starboard, 1 in the head, 2 in the V birth starboard and port.)
    •    Take out 120V cable that use to power old cabin lights. (LEAVE WIRING FOR MAST & BOW LIGHTING)
    •    Re-wire with 12v wire, and add 12v switches beside lights.
3. Re-wire and replace circuit pannel.
    •    Map out the entire wiring scheme of the boat.
    •    Re-draw the wiring scheme of the boat
    •    Will need new circuit panels
4. Ceilings over bunks.
    •    Measure old ceilings
    •    Construct new perforated ceilings
    •    Re-install new ones
5. Paint. (MAKE SURE TO CLEAN AGAIN BEFORE PAINTING)
6. Re-install all wood panels etc.

Trailer:
- Bairings?
- New mount for the back post
- clean it off

MISC:
- Empty stripper containers disposed of
- Wood Duck signs from the front of the boat cleaned (not going back on)

TO BUY:
1. Knot Meter (both the display and censor) * Could be a combo with Depth Finder
2. Depth Finder (both display and censor)
3. GPS (Not a necessity for this year.)
4. Radio
5. Compass
6. Safety Gear
7. A couple of new ropes (list to come)
8. Life lines
9. Push Pit (from Bill)
10. Couple of new porthole windows for cabin.
11. Lighting for cabin
12. Wiring for cabling
13. New circuit panels