Thursday, February 23, 2012

2012- A new year and the Wood Duck shall be done!

Hey Friends and Family,

I apologize I thought I had made a blog post last fall as to where we got on the boat... I apparently did not.

Last spring and summer I was very fortunate to have a lot of great support working on the boat. As the paint pealed back and back I got to see more of the lovely cedar underneath; however, we found some patches of rot on the boat (which we expected) after a long detailed and thought out conversation, Admiral Evan and I decided the best solution was to hire a carpenter to replace the parts of the boat that were showing signs of rot and distress.  Deciding this meant that the boat would not get into the water for 2011.

As of March I will start doing updates again on every day we work on the boat. I have included the " TO DO" list so you can get an idea of what still needs to be done. ( I know the list seems a bit epic, but know that this is about 30% of the work we already did last year, so very doable this spring.

As always let me know if you have time and want to help on the boat, every time I get one volunteer for a day, it cuts my work in half and lots more gets done!!

 1. Starboard all sanded!!
  2. Starboard stern all sanded!!
 3. Port stern 1/2 back, needs to be sanded and striped.
 3a. Port prow, a little sanding.
 4. Port stern view from aft.
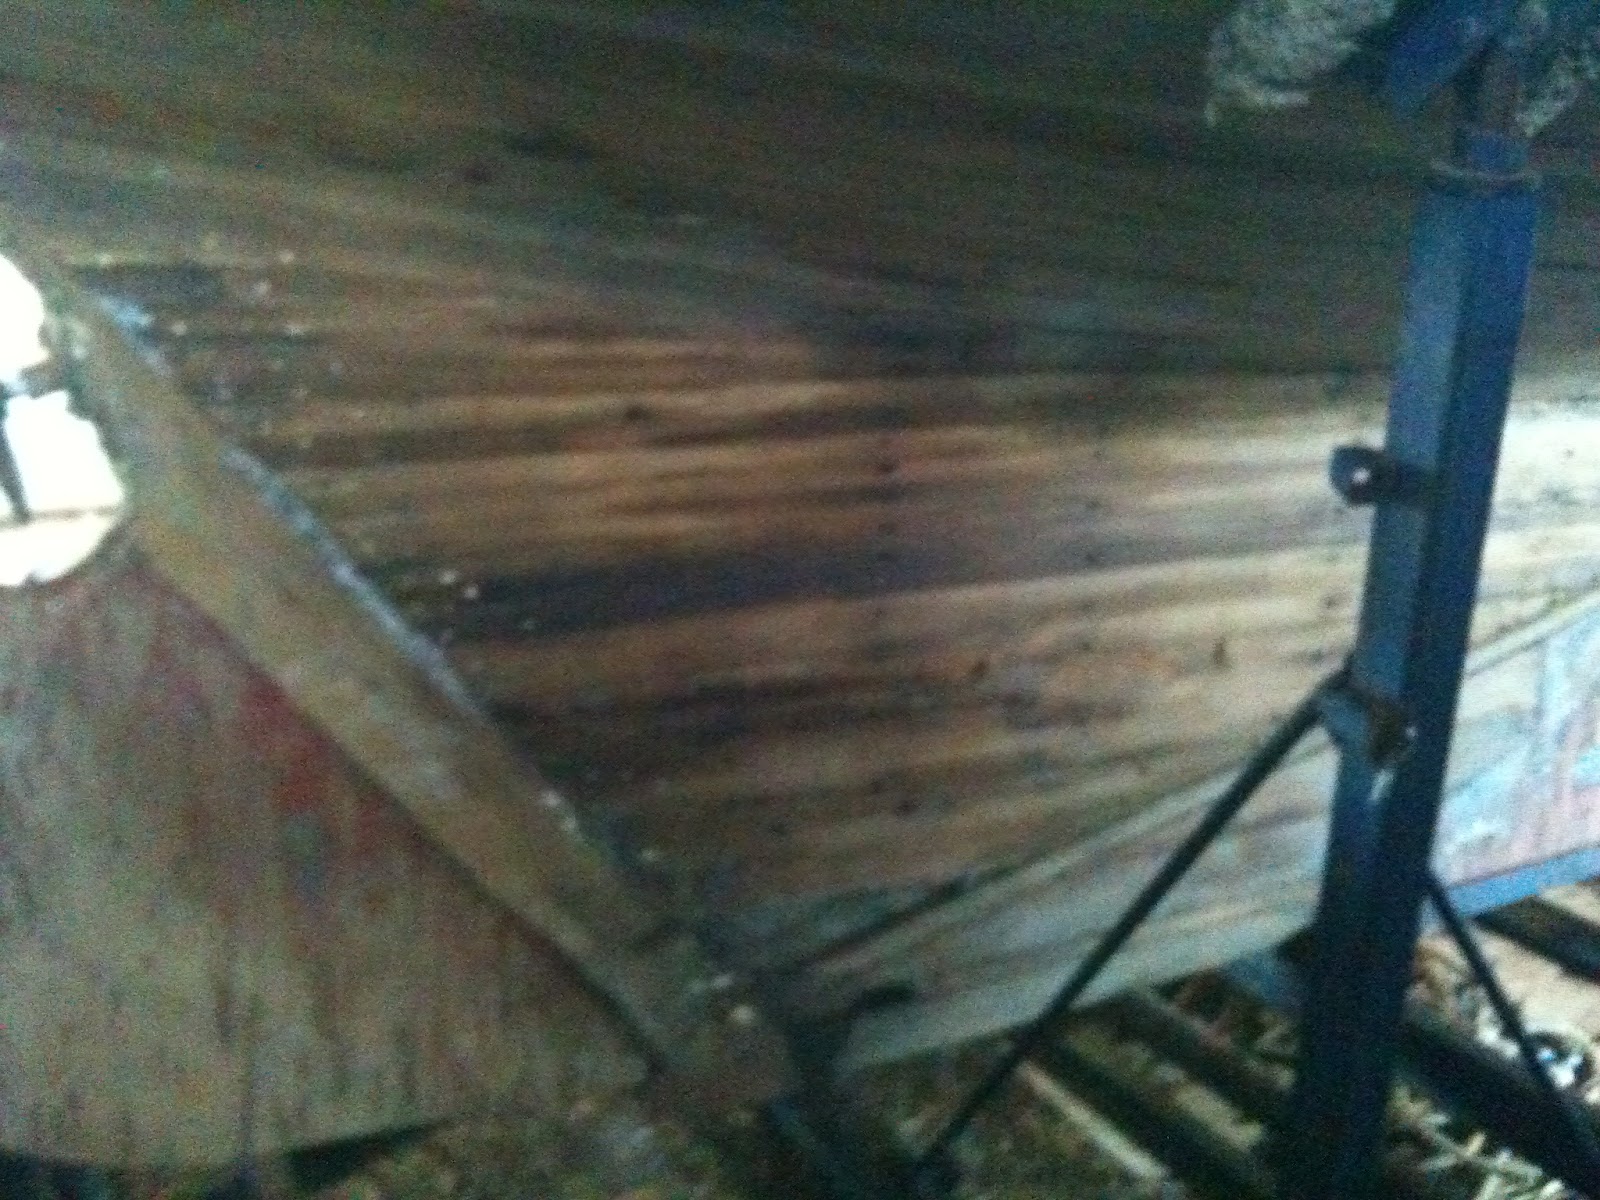
 5. Starboard where new cedar strip will be.
 6. Port where a new cedar strip will be put in just along the keel.

THE LIST

The list is in order of what needs to be done first, broken down by section of the boat. Some jobs can be done simultaneously, see schedule break down for idea of how all the work will be accomplished.

Starboard Side Hull:
Notes: Fully striped & rough sanded (See picture 1 & 2.)

1. Replace boards  near the stern (see picture 5) [Hours? Not done by Oz]
2. Sanding:
    •    Prow around the chain plate
    •    Prow under trailer support
    •    Keel, the lead still has some paint
    •    Indented line below the deck above the waterline needs to be scrapped out and sanded
    •    Outside of toe rail along the deck
    •    Lighter grit sanding of everything above the waterline
3. Clean all bronze porthole, exhaust holes, etc.
4. Filling all the cracks with epoxy and seam sealant.
5. Sanding down the epoxy over the cracks, blending in with wood.
6. Smoothing and sanding under the waterline (not faired)
7. Fairing the boat above the waterline, to just under the waterline.
8. Seal and Paint

Port Side Hull
Notes: 3/4 striped & 2/3 sanded. (See picture 3 & 4.)

1.
Replace boards along the keel. (see picture 6) [Hours? Not done by Oz]
2. Stripping (Needs 10°c + weather)
    •    1/2 along to 3-4 ft of the way back above the waterline; this might be able to be sanded, if everything else is done before the warm weather. (1-2 coats of stripper)
    •    Last 3-4ft of side to stern (3-4 coats of stripper)
    •    Prow above the waterline (1-2 coats of stripper)
    •    Underneath the two pads on the side, front support and back support (3-4 coats) NOTE: Pull off pad and see if it can be sanded.
3. Sanding:
    •    All area's above mentioned in the stripping will need to be brought down to wood.
    •    Parts already at wood will need a light grit sanding.
    •    Indented line below the deck above the waterline needs to be scrapped out and sanded
    •    Outside of toe rail along the deck
    •    Under the two pads on the side, front support and back support.
4. Clean all bronze porthole, exhaust holes, etc.
5. Filling all the cracks with epoxy and seam sealant.
6. Sanding down the epoxy over the cracks, blending in with wood.
7. Smoothing and sanding under the waterline (not faired)
8. Fairing the boat above the waterline, to just under the waterline.
9. Seal and Paint

Stern:
1. Light coating of finer glass needs to be pealed off
2. Sanded underneath.
3. Clean the "Wood Duck" sign.
4. Seal and Paint

Prow:
1. Clean and polish Chain Plate.

Rudder:
1. Brought back down to metal. If possible, take the rudder off and bring it to Bill (metal worker) to have it sand blasted.

Deck:
1. Cleaned off (Swept well, tools, etc moved off)
2. Uninstall as much deck hardware as possible.
3. Sanding:
    •    Belt sander for flat parts (not down to wood, just smoothed out, not ripping into the fiberglass.)
    •    Circular and hand sanding for the curves and hard to reach places.
    •    Hand sanding for all teak rails.
    •    Inside of the toe rails.
4. Re-install all deck hardware with glue/sealant underneath. NOTE: Must be done before painting.
5. Plexiglass over the vents reinstalled (Roadie)
6. Fix fiberglass around mast step
7. New Life Lines!
8. Replace a couple of the cabin windows that are cracked or broken.
9. Tape off all deck hardware and teak before painting
10. Seal and paint. Smooth white, gritted white for walking area's, and stain for teak.

Stern/Cockpit
1. Sanding
    •    Light sanding of the hatch cover.
    •    Teak around the cockpit
    •    Winch bases
    •    Floor
    •    All painted areas to be sanded and smoothed for painting.
2. Seal and paint all white areas, varnish teak.
3. Replace stern Spinnaker winch mount.
    •    measure the wood for brad
    •    remove
    •    install new one
4. Take apart all winches, clean and reassemble
5. New compass
6. Install new push pit on the back.
    •    Need to bring drawing to Bill (metal worker)

Cabin:
1. Sanding
    •    All white walls to be smoothed and ready for repainting, using putty where needed.
    •    DO NOT SAND WOOD
    •    Clean, vacuum etc after the sanding.
2. New lighting: LED puck lights from IKEA
    •    7 in the cabin, same spots as old ones.  (2 in galley port and starboard, 1 over the bunks port and starboard, 1 in the head, 2 in the V birth starboard and port.)
    •    Take out 120V cable that use to power old cabin lights. (LEAVE WIRING FOR MAST & BOW LIGHTING)
    •    Re-wire with 12v wire, and add 12v switches beside lights.
3. Re-wire and replace circuit pannel.
    •    Map out the entire wiring scheme of the boat.
    •    Re-draw the wiring scheme of the boat
    •    Will need new circuit panels
4. Ceilings over bunks.
    •    Measure old ceilings
    •    Construct new perforated ceilings
    •    Re-install new ones
5. Paint. (MAKE SURE TO CLEAN AGAIN BEFORE PAINTING)
6. Re-install all wood panels etc.

Trailer:
- Bairings?
- New mount for the back post
- clean it off

MISC:
- Empty stripper containers disposed of
- Wood Duck signs from the front of the boat cleaned (not going back on)

TO BUY:
1. Knot Meter (both the display and censor) * Could be a combo with Depth Finder
2. Depth Finder (both display and censor)
3. GPS (Not a necessity for this year.)
4. Radio
5. Compass
6. Safety Gear
7. A couple of new ropes (list to come)
8. Life lines
9. Push Pit (from Bill)
10. Couple of new porthole windows for cabin.
11. Lighting for cabin
12. Wiring for cabling
13. New circuit panels

Thursday, June 23, 2011

Tuesday, June 21, 2011

New Processes...

Hello friends!

I haven't updated for a bit I am sorry! I will post the pics that have been taken over the last days of working on the boat. I had amazing help from George again for a day, and Mike came up from Windsor for an evening and helped me out.


As for the new processes... I figured out a more efficient way to use the stripper; if you put a sheet of plastic on the stripper then it stays moist and within an hour it rips through the paint and some of the paint even peals off with the plastic. After that you only need to lightly scrape to get the rest of the paint off.

Another new process, less a process just a new item. I bought a new type of 60 grit sand paper that lasts longer, and is much much more effective!

Things that are left to do on the boat (all time estimates are for one person working):
1. Finishing stripping/sanding the freeboard on both the starboard and port sides of the haul aft of the cabin. (Stripping 2 hr, Sanding 1 day)
2. Finishing sanding the freeboard on starboard side fore of the cabin. (1/2 day)
3. Stripping and sanding the deck (1.5 days)
4. Finish sanding the teak ( 1/2 of the cockpit floor, 3/4 of toe rail around the boat, and about 1/2 of the extra trim pieces around the boat). (1/2 to 1 day)
5. A little chipping of the old sealants under the waterline (1/2 day).
6. All cracks, divots, and rot that has been chipped out needs to be sealed with caulking/ epoxy resin. (1 day)
7.Once everything is brought down to wood and looking all fresh the whole boat needs to be sanded with  a 100 grit paper to smooth it out. (1 day) This is a quicker process as nothing is coming off, just being smoothed.
8. Everything above the waterline must be sanded with a final 120 grit to make it smooth, which will make the painting look like glass (if done properly) (1 day)

All of the above steps are whats left to get it ready for painting!  If done alone it will take me aprox. 7.5 normal days. If I have help, much less!
My goal is to have this process mostly finished by the end of next week (Thursday, June 30th).


After all those steps are done, a quick cleaning with soapy water, and then a few days to dry. Then the first week of July the painting will start, which should only take a few days.

Wow, after all that here are the pics of the process in order of the last 4-5 days:

After being Stripped, but not sanded.


 Sanding starts on the bottom, under the waterline.


 George got all this done in one day!


Yeah, I'm that butch!


Under the waterline is sanded, freeboard is joining. (This was this afternoon)


Dirty Teak...


Clean teak!


Teak cover is half cleaned, you can see the original black!


CLEAN! 


Went back to the freeboard! 


 Rot sad :( but not unexpected... fixable!

Doors before and after..


The cabin hatch it looking good!


Last picture of the day, 9:30pm finish... She is a beast. I love her! 

Saturday, June 4, 2011

Lots of Progress

Thursday June 2nd

My friend George and I were working on the boat all day, and got quite a lot of progress done again. George and I will be off to work on it again tomorrow! Let me know if you want to come out and lend some time!


A note on the paint that you see. The original colour is the bright blue, which has years of paint on it. Under that is a lighter blue that it must have been painted several years ago. Under all of that there is a dark purple (I am assume some sort of sealant) and a pink (a sealant too I assume).

The process of stripping is quite long, it takes about 3-4 coats of stripper to get down to the pink; between each coat we have to scrape a little paint away. The pink doesn't interact with the stripper, so once we get down to that level, then we slowly sand through that.

o

Friday, May 27, 2011

Bring strippers, and wood will appear!

Hey Friends!

It's been awhile since I have posted, sorry about that! Lots has been going on with the boat, I wasn't able to do much in April, but got a few things polished and cleaned that I took off the boat and brought home.

May 24 was a big weekend for me, I started working on the boat Thursday, I will day by day it for you.

Thursday May 19th

I brought my friend Greg with me on this trip, he expertly patched all the chipping paint in the cabin with spackle and got it all ready to paint!

I worked on the haul testing out the new gel stripper and trying to get it to work. Not much success with it on the first day, which got be pretty dismayed as I didn't know how in the hell I was going to get the paint off!

Friday May 20th

I was all alone on the boat Friday, I started to have some break throughs with the stripper and paint started flaking away, by mid afternoon Friday I had gotten to this point with the port side of the haul.


(Sunset over the fields & solar panel) 


I took some time have some dinner and a beer. I worked until 11pm Friday and started to get happy with my progress.


Ended the night with a bonfire with my cousins on the farm.

Saturday May 21st

Saturday was a bit of a slow day, I was a bit tired. Got a little bit more chipped away. I went to see my Grandfather and we had a good chat about the boat and life.

Sunday May 22nd & Monday May 23rd

David came with me for the next two days, and we got a lot done. Not much to type the pictures talk volumes. All the hard wear is being taken off the deck to prep that to be stripped, resealed and all the hard wear put back on and re-caulked.


I have decided to take more time with the project and just do everything thoroughly now, less work later. Which puts my schedule a little later, hopefully we will have the boat in the water by July 1st.

I will update more soon :)

o

Wednesday, February 23, 2011

First Day of Major Work

Captain's Log:

Dave (Roadie) and I made the trip to Chatham on Sunday and started aggressively working on the boat. We started by sanding, which we soon realized was not going to work out very well. A call to Craig (our boat specialist who appraised the boat, and ideas from Evan) we have decided to use a gel paint stripper which was made for wooden boats.
We shifted gears after that and started work on other things. Dave removed the bent stanchion to be replaced and I worked on cleaning out the cabin. Mice have taken up home in the recent years, however armed with a respirator and a vacuum I got the cabin clean and smelling better again.
Lots of great progress on the not so fun jobs was made. It was also nice to just work around the boat and start meticulousy going through every part of her. I am starting to get a very good knowledge of the layout of the boat, however still so much to explore and learn about her!

First Mate's Log (Dave):


10:15- Arrive @ the Wood Duck. Spirits are high.
10:30- Begin work
10:45- Sanding proves very difficult. Spirits slightly dampened. Measurements for waterline begin.
The decision to hire strippers use paint strippers instead of sanding unanimously agreed upon.
11:00- Under deck explored.
11:15- Boom & mast lifted off boat (hung from ceiling) for easier access. Decision reached that we have the most bad ass boat ever
12:00- Unfasten bent stanchion. Garth [Oz] vacuums. Everything is in it's place. Spirits good.
6:00- Snowing heavily, home time.


Next update in a week!
o
Oz preparing to go below to clean out mouse nests.

Monday, February 7, 2011

The Move

Quick update:

My uncle Bill and I moved the duck from the small shop into my uncles bigger machine shop that has electricity. Couple small hiccups in transit when the boat hit the roof; only a few of the metal stanchions were bent, so something can be fixed!

Sanding will start on February 20 or 21!! More pictures and posts to come!

o